Settings
Configurable entities and categories in the system.
Account Setting
{info} You can update your name, email & password using the form.
Field Definition
| Field | Description |
|---|---|
| Profile Picture | Your personal profile picture |
| Name | Your personal name / nickname |
| Your current email, used in system login | |
| Password | Your login's password, if you do not wish to change password, leave it blank |
| Confirm Password | Re-type your new password to proceed password change, must be the same as the password entered |
Click  to save
Team setting
{info} You can customize the modules to be seen/create/modify/delete by setting restriction to the teams
How to create team to customise team's permission
-
Click
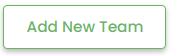 at Team settings
 -
Fill in the required field, the descriptions of fields in the forms are as below:-
Field Description Team Name Required. Name of the team, e.g. Sales Team Team Description Optional field that describe the team Team permissions Required. The restrictions and permissions allowed for the specific team to view/create/modify/delete the modules

-
Click

Example of created team
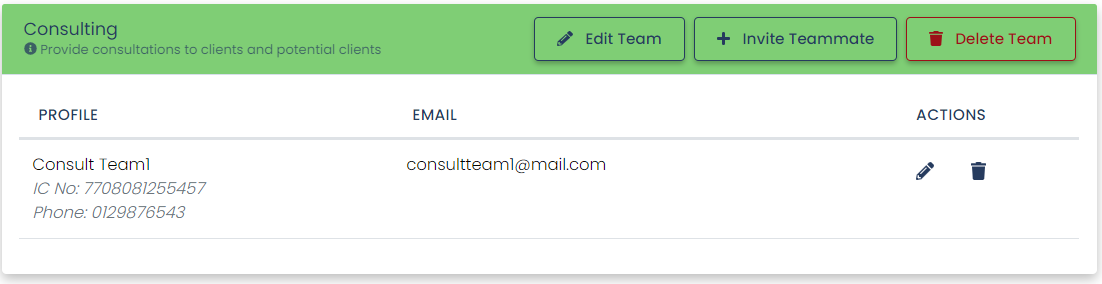
How to edit the team's permission
- Click

- Configure necessary changes on the settings
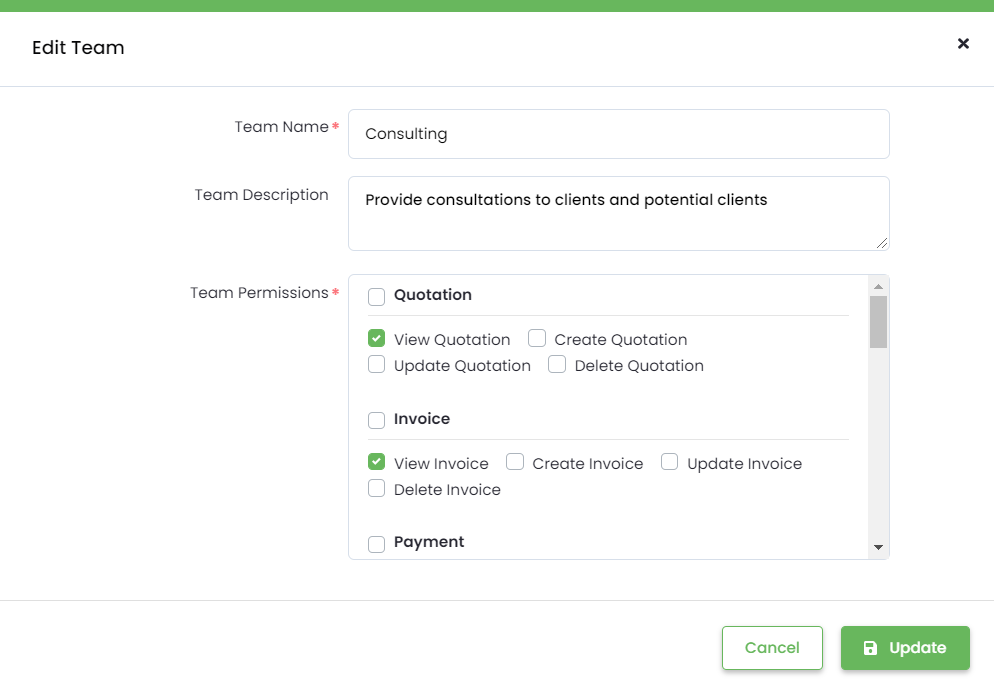
- Click

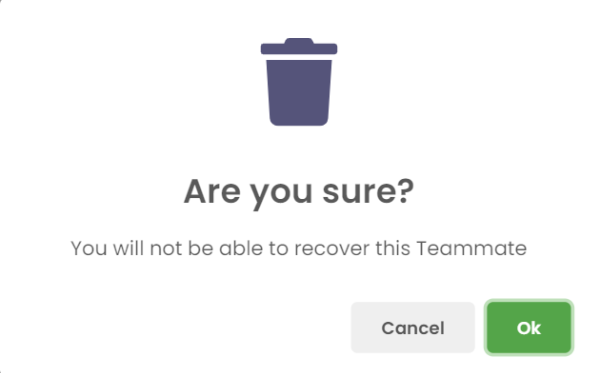
How to delete the team's permission
- Click

- Confirm the delete action on team.
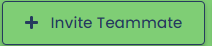
How to invite teammate
- Click
- Fill in the required fields regarding teamate.
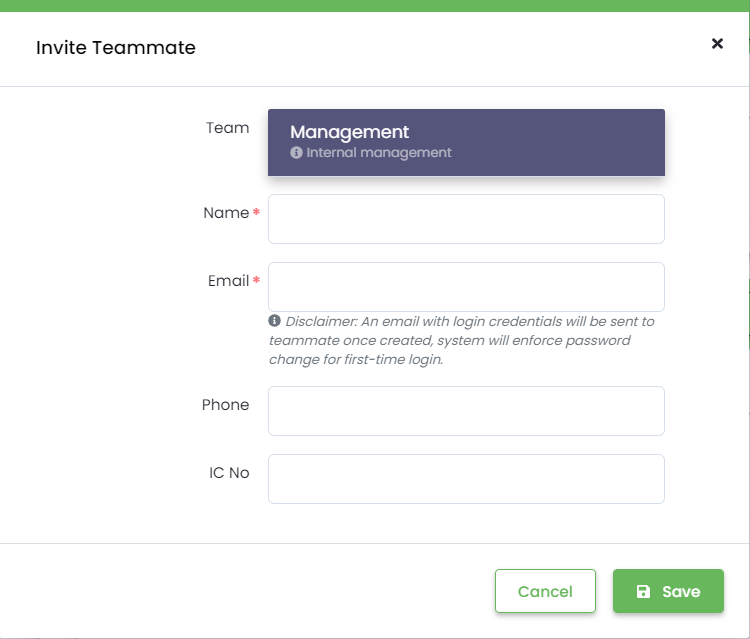
- Click
How to edit teammate
- Click

- Make necessary changes on the field.

- Click
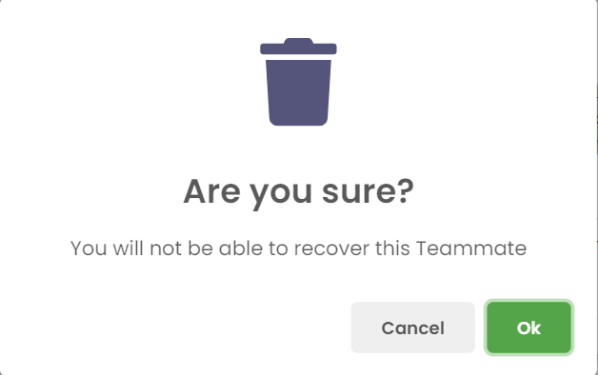
How to delete teammate
- Click

- Confirm the delete action on teammate.
Company Information
{info} Information about your company that will be displayed on invoices, estimates and other documents.
Field Definition
| Field | Description |
|---|---|
| Company Logo | Your company logo picture, displayed at the top navigation bar and also documents |
| Company Name | Your company name |
| Phone | Your company contact number |
| Country | A full list of country as dropdown selection |
| State | Your company's state |
| City | Your company's city area |
| Zip | Your company's zipcode / postcode |
| Address | Your company's address |
Click to save
Customization
{info} Modules customizations
1. Module: Invoice
{info} Invoice's customization
Invoice Prefix
The default value of the invoice prefix at Invoice creation page as shown
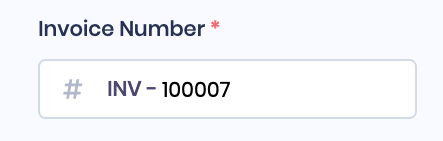
Steps to modify
- Change the value of the prefix
- Click to save
{info} Auto-generation of Invoice number can be enabled/disabled at

Journal Type
An entity where it groups the transaction record in selected type, bind with invoice at Invoice creation page
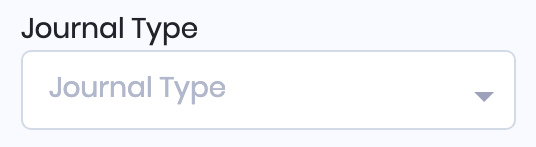
Steps to modify
- Click
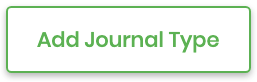
- Fill in the necessary fields marked (*)
- Save Journal Type
2. Module: Customer
{info} Customer's customization
Debtor Code Prefix
The default value of the debtor code prefix at Customer creation page as shown

Steps to modify
- Change the value of the prefix
- Click to save
{info} Auto-generation of Customer number can be enabled/disabled at

Customer Settings - Auto-generate Debtor Code
A running number for same customer's debtor code prefix for each time you create a new customer, which it defaults to 4 digits long of number, see above appendix Customer prefix
Steps to modify
A switch to "on" (button goes right and green color appear on switch) or "off" (button goes left and grey color appear on switch)
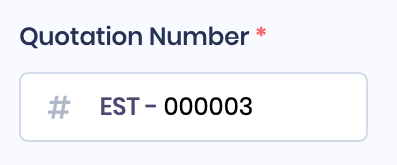
3. Module: Quotation
{info} Quotation's customization
Quotation Prefix
The default value of the quotation prefix at Quotation creation page as shown
Steps to modify
- Change the value of the prefix
- Click to save
{info} Auto-generation of Quotation number can be enabled/disabled at

Quotation Settings - Auto-generate Quotation Number
A running number for same quotation number prefix for each time you create a new quotation, which it defaults to 6 digits long of number, see above appendix Quotation prefix
Steps to modify
A switch to "on" (button goes right and green color appear on switch) or "off" (button goes left and grey color appear on switch)
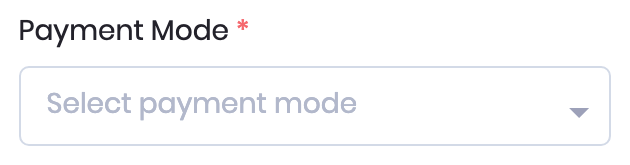
4. Module: Payment
{info} Payment's customization
Payment Mode
The method / mode of payment, bind with payment at Payment creation page
Steps to modify
- Click
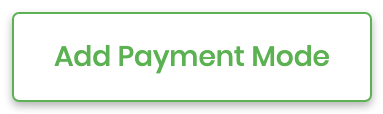
- Fill in the necessary fields marked (*)
- Save Payment Mode
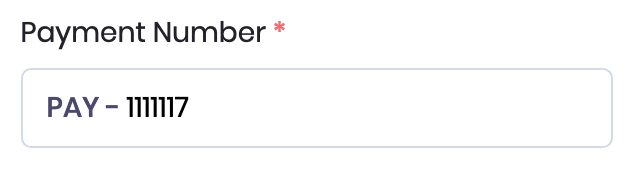
{info} Auto-generation of Payment number can be enabled/disabled at

Payment Prefix
The default value of the payment prefix at Payment creation page as shown
Steps to modify
- Change the value of the prefix
- Click to save
Payment Settings - Auto-generate Payment Number
A running number for same payment number prefix for each time you create a new payment, which it defaults to 6 digits long of number, see above appendix Payment prefix
Steps to modify
A switch to "on" (button goes right and green color appear on switch) or "off" (button goes left and grey color appear on switch)
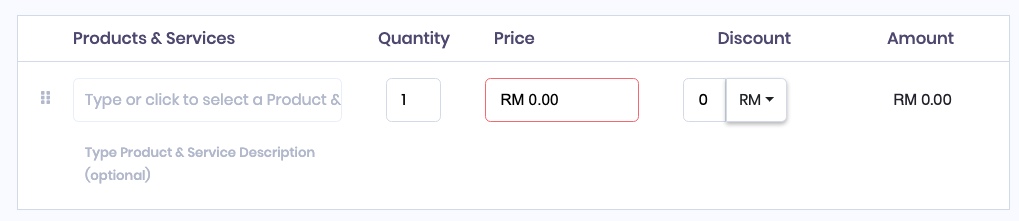
5. Module: Products & Services
{info} Products & Services' customization
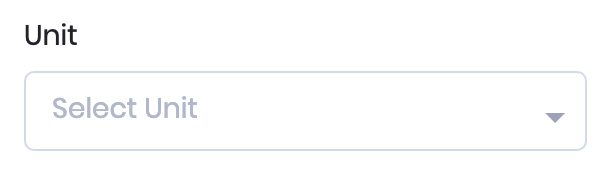
Unit
The mode of measurement of a product / service, bind at Products & Services creation page
Steps to modify
- Click
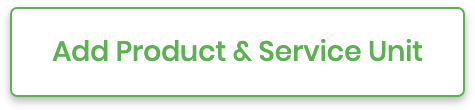
- Fill in the necessary fields marked (*)
- Save Payment Mode
Preferences
{info} Default preferences for the system.
Field Definition
| Field | Description |
|---|---|
| Currency | The unit of measurement for money, eg. MYR, used in every money related field |
| Language | The language preference of the system's displayed wording, eg. English |
| Time Zone | The system's current time zone, used in every entity creation to record created at and updated at |
| Date Format | The system's date display format |
| Financial Year | The year as reckoned for taxing or accounting purposes, may be used in documents |
Click to save
Tax Types
{info} You can add or Remove Taxes as you please. DuitCount supports Taxes on Individual Product & Service as well as on the invoice.
- Click
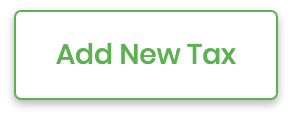
- Fill in the necessary fields marked (*)
- Save Tax Types
Field Definition
| Field | Description |
|---|---|
| Tax Name | The name of the tax |
| Percent | The amount of percent charged to invoice when selected |
| Description | The information of the tax |
| Compound Tax | Whether to compound the tax or not (compound tax: sum up all related compound tax) |
Click to save
Tax Settings - Tax Per Product & Service
Add taxes to individual invoice items. By default, taxes are added directly to the invoice.
Tax Per Invoice
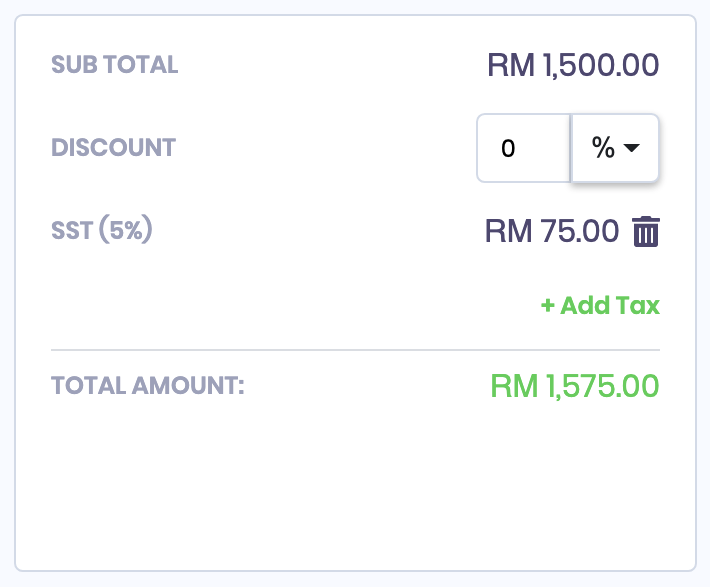
Tax Per Product - apply to every products
Steps to modify
A switch to "on" (button goes right and green color appear on switch) or "off" (button goes left and grey color appear on switch)
{info} Tax per Product & Service can be enabled/disabled at

Notifications
{info} Email notifications you would like to receive when something changes
- Fill in your 'reply to' email address at [Send Notifications to] field
- Click
Invoice viewed
When your customer views the invoice sent via DuitCount

Steps to modify
A switch to "on" (button goes right and green color appear on switch) or "off" (button goes left and grey color appear on switch)
Quotation viewed
When your customer views the quotation sent via DuitCount

Steps to modify
A switch to "on" (button goes right and green color appear on switch) or "off" (button goes left and grey color appear on switch)
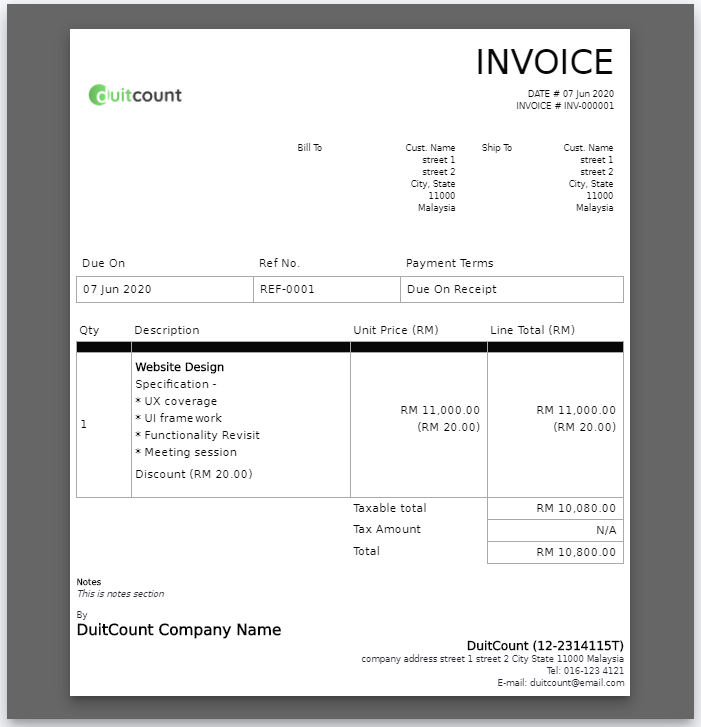
Templates 🚩
{info} Template editor for invoices and quotations is set to exact A4 size
How to edit template
Template Info.
- Fill in template name with desired name.
Design
- Select the font from the dropdown options.
- Select the root size from the dropdown options.
- Select colour from the list of colors OR pick it from the colour plate OR enter RGBA.
Content
- Select header style.
- Choose if which address to be displayed.
- Enter notes for footer section, if has any.
Preview of template