Invoices
Invoice is a list of products sent or services provided, with a statement of the sum due for these. In short, it is a bill.
Prerequisite
{primary} First, make sure you are logged in.
How to add an invoice
-
At Invoice page , click

-
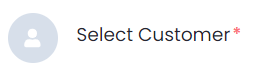
Select customer by clicking
-
Fill in the necessary fields marked (*). Some explanation of the fields are as such:
Field Description Customer (required) Indicates this invoice is belongs to the selected customer Invoice Date (required) The date that this invoice is issued Due Date (required) The date that this invoice is due Invoice Number (required) A running number for invoice with prefix and auto-generated number configured at setting page, see Invoice Setting page Ref Number Optional reference number indicating the invoice Payment Term Indicates the conditions under which a vendor completes a sale.
eg.90 Days
Note: Default value will get from customer's payment termJournal Type An entity where it groups the transaction record in selected type, see bottom of Journal Type Setting to configure. Notes Optional field to be added additional notes Templates (required) and automatically filled field, can be configured at templates settings , see How to use template editor Discount Optional field, fixed amount or percentage formats available. Add Tax Optional field, can be selected from list of taxes or create a new tax by clicking on  , see How to add new tax
 -
Products & services and its price are required fields. Select one/multiple quotation products & services, adjust the amount if necessary.
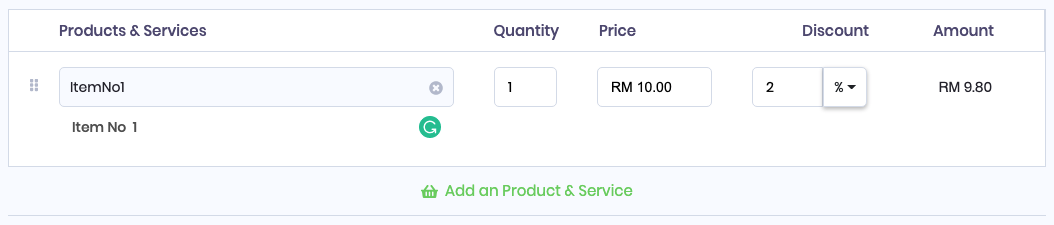
If none of the products & services is desired or if the list is empty, click on the text field following by to add a new product & service.
Please refer to How to add Products & Services for instructions on how to add a new product & service.{info} You can add more products by clicking [ Add a Product & Service]
-
Save invoice
 or
or
By selecting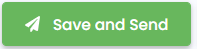 , the invoice will be saved and sent to the client's email
{success} Done 🎉 You can view your new invoice at Invoice page .
How to filter invoices
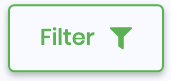
- Click on
-
Fill up the filter(s) you need:
{info} Changes will automatically applied

Field Type Description Customer Dropdown with Search Customer name Status Dropdown Invoice status:
Draft, Due, Sent, Viewed, Overdue, Completed
Paid Status:
Unpaid, Paid, Partially PaidFrom Date Invoice which dated from this date onwards To Date Invoice which dated before this date Invoice Number Text Invoice number which matched Invoice's table NUMBERcolumn
Methods to reset filter
- Click
Clear Allat filter fields area. - Remove the value you have inserted, it will recognized it as no filter input.
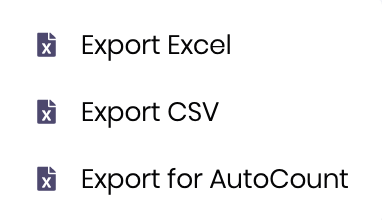
How to export invoices
Export Invoices in multiple formats (xlsx, csv)
{primary} You can only export invoices after the table is rendered
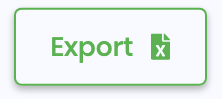
- At Invoice page , click
- Select export option.
- Confirm the export, filtered status will be displayed as such
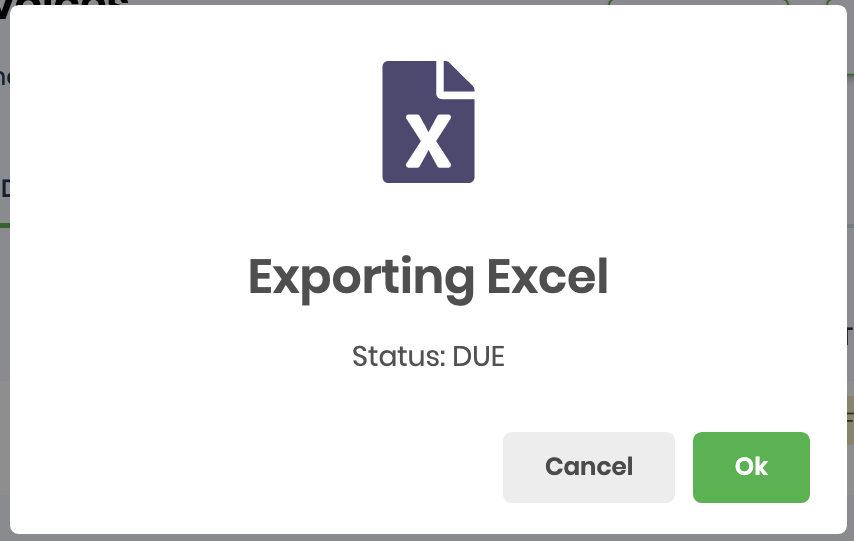
{info} Invoice table filters can be applied to export module as well. Full list of filters can refer filter list
Export Single Invoice (pdf)
Method 1: via. Invoice's table
- At Invoice page , click on triple dots at the right most column.
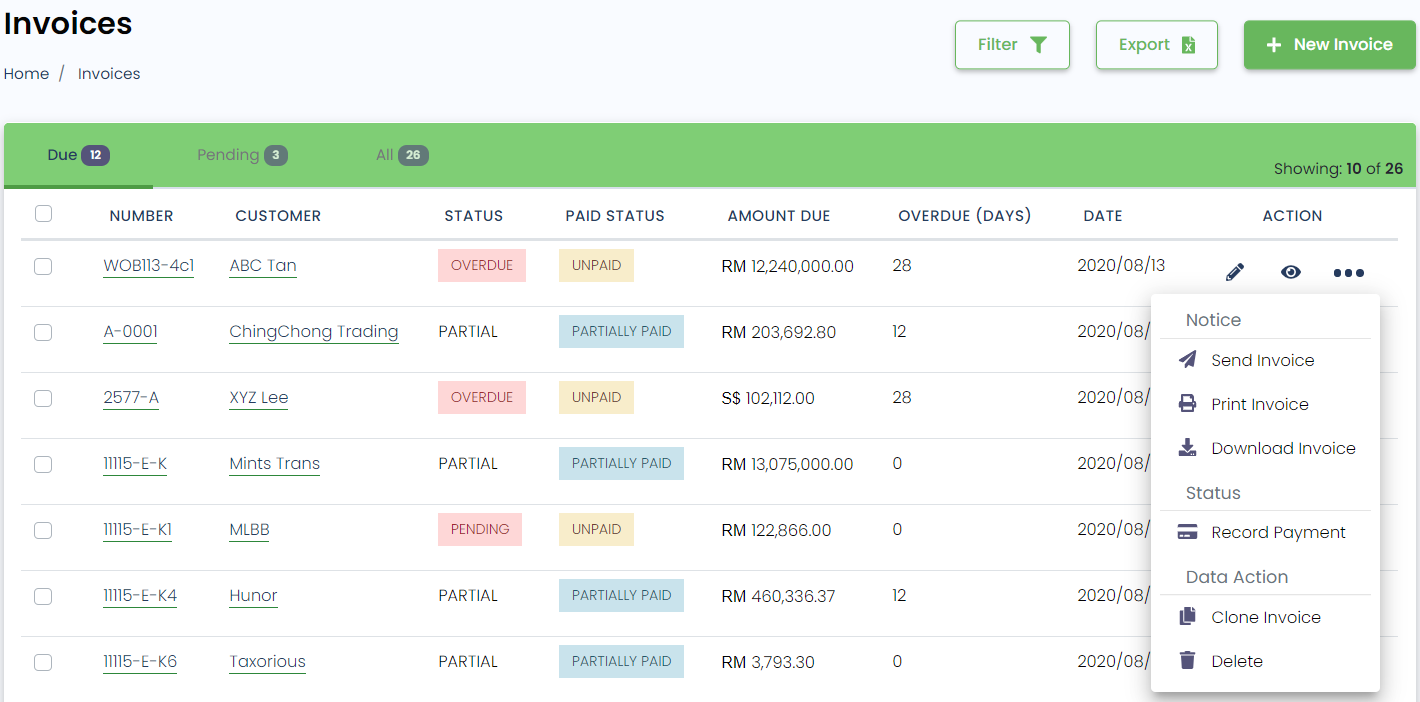
- Click

- The download will begin.
Method 2: via. Invoice view
- At Invoice page , click on triple dots at the right most column.
- Click
 to view.
 - At view page, click on top right corner's triple dots button

- Click to begin download.
- (alt.) Or, move your mouse over the pdf display, click the download icon on the appearing top bar

- (alt.) Or, move your mouse over the pdf display, click the download icon on the appearing top bar
How to send invoice to customer
Method 1: via. Invoice's table
- At Invoice page , click on triple dots at the right most column.
- Click

- Click
 on the confirm message.
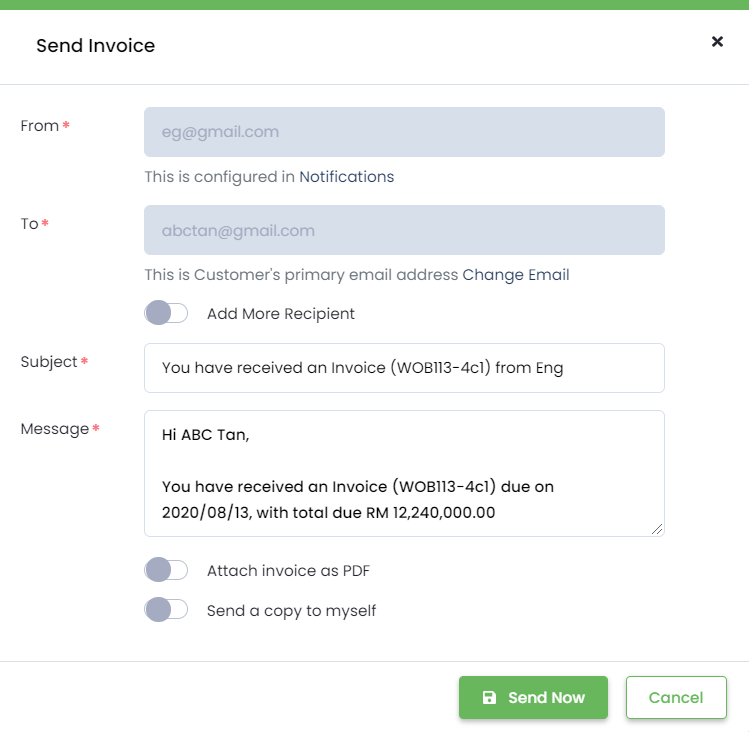
{info} Options on recipient, PDF attachment, copy to myself can be modified before sending in step 3
Method 2: via. Invoice view
- At Invoice page , click
 to view.
 - Click
 to send invoice.
 - Sending options are to be referred to step 3 in Method 1.
{success} An email is sent to customer with link to view invoice PDF in both methods 1 and 2
Additional setting
You can setup your 'reply to' email address by following steps:
- Go to Settings page
- Then go to Notifications subpage
- Fill in your 'reply to' email address at [Send Notifications to] field
- Click

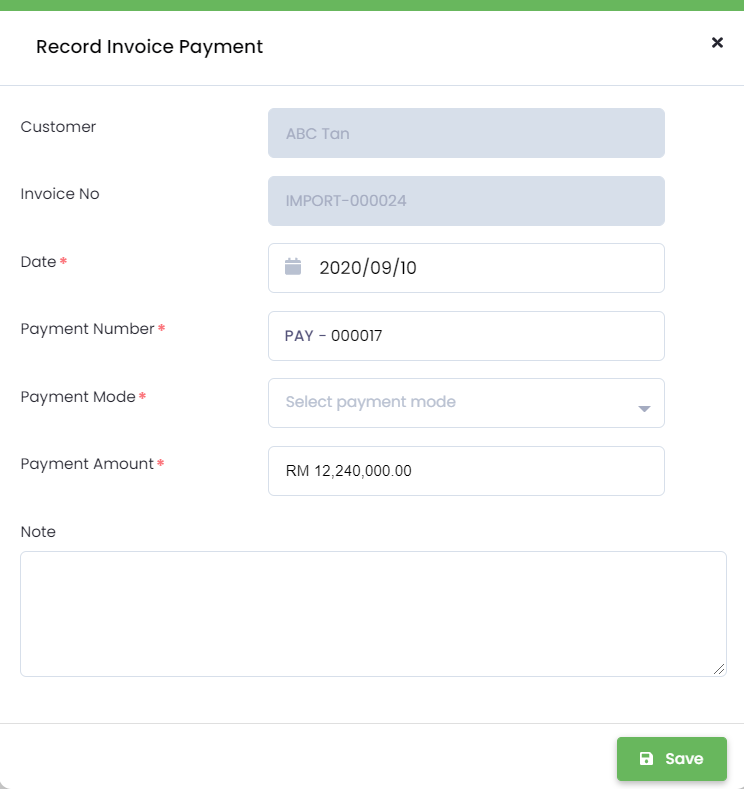
How to make payment to invoices
Method 1: via. Invoice table
- At Invoice page , click on triple dots at the right most column.
- Click
- A payment form will pop up, your invoice is auto filled, then fill up the necessary fields marked (*)
Method 2: via. Payments screen
{info} Refer to Payment - How to make payment to invoice
How to setup an Invoice Due Reminder Schedule
{info} Prerequisite: create an invoice
- Click on Edit.

- At edit page, click
- Check one of the option and click
Save

Clone Invoice
If your invoice input seem repetitive, you could use clone feature to haste your work.
- Pick one invoice, and click on triple dots on right most column.
- Click on
- Click [Ok] to confirm the message.
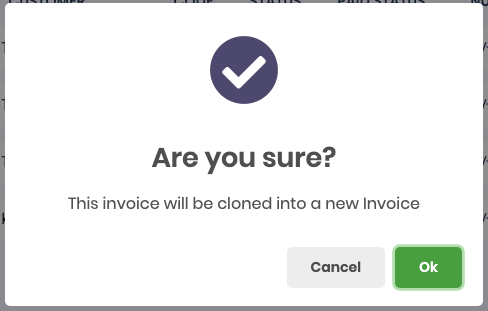
{success} A new invoice is created and shall redirect you to edit page.
You can continue your workflow, or adjust necessary information and click
{info} Only Invoice Number is different, it is incremented by 1, the other fields remain the same.
Recurring Invoice
At some point, you may need to generate the same invoice weekly/monthly/yearly, in this case, you could use system's recurring invoice feature to do so.
- Pick one invoice, and click on triple dots on right most column.
- Click on Edit.
- At edit page, click on
- Fill up the settings.
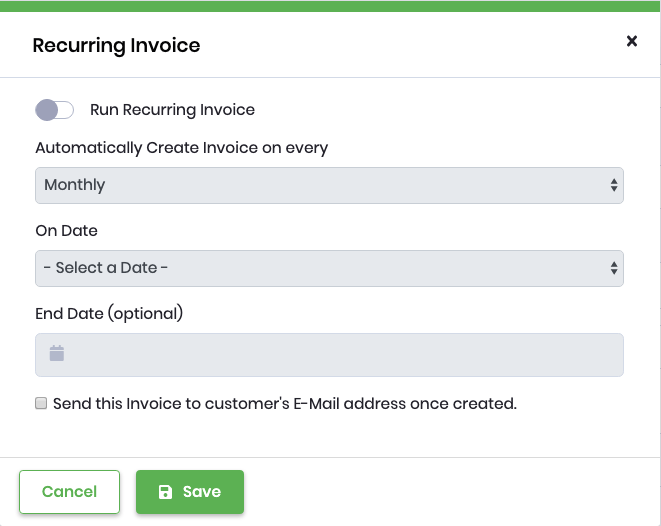
Field Description Run Recurring Invoice A switch to enable/disable recurring invoice Automatically create invoice on every select one of options: Weekly, Monthly, Yearly On Day Invoice recurred at which day of the week.
applicable only for option: WeeklyOn Date Invoice recurred at which date of the month.
applicable only for option: Monthly, YearlyOn Month Invoice recurred at which month of the year.
applicable only for option: YearlyEnd Date (optional) Recurring Invoice schedule will end at set date. Send this invoice to customer's email address once created Optional field to be enabled if clients are to be sent email regarding invoice created - Click Done 🎉